Apple has changed things in 10.9, but making a recovery drive is still possible.
The only-slightly-less-easy way
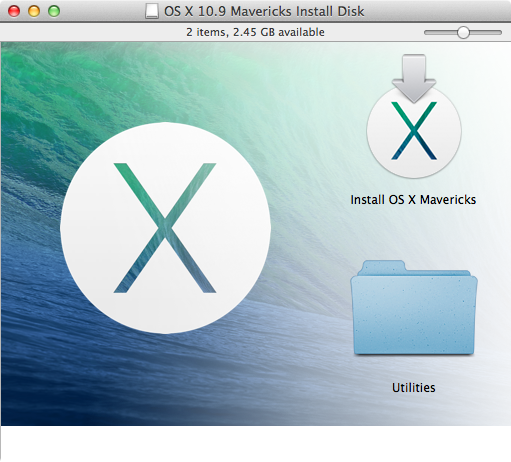
If you don't want to use Diskmaker X for some reason, poster tywebb13 on the MacRumors forums has your hookup. Assuming that you have the OS X Mavericks installer in your Applications folder, and you have a Mac OS X Extended (Journaled)-formatted volume named "Untitled" mounted on the system, you can create a Mavericks install drive by typing the following command into the Terminal.sudo /Applications/Install\ OS\ X\ Mavericks.app/Contents/Resources/createinstallmedia --volume /Volumes/Untitled --applicationpath /Applications/Install\ OS\ X\ Mavericks.app --nointeractionThe command will erase the disk and copy the install files over. Give it some time, and your volume will soon be loaded up with not just the OS X installer, but also an external recovery partition that may come in handy if your hard drive dies and you're away from an Internet connection.
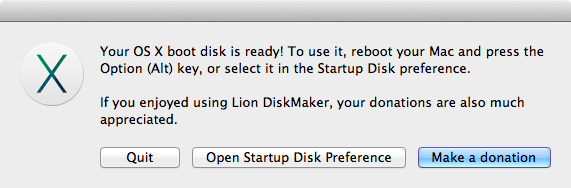
Whichever method you use, you should be able to boot from your new USB drive either by changing the default Startup Disk in System Preferences or by holding down the Option key at boot and selecting the drive. Once booted, you'll be able to install or upgrade Mavericks as you normally would.
Update: This article originally contained instructions for using Lion Diskmaker 3 beta 3. It has been updated for the release of Diskmaker X, the non-beta version of the same program.
When Apple released OS X 10.7 two years ago, it stopped selling operating system DVDs in its stores, stopped shipping recovery disks with new Macs, and switched to downloadable installers for OS X upgrades. These download-only installers have actually worked pretty well—I’ve never had an issue downloading the software from the Mac App Store or restoring a Mac using the Internet Recovery feature when something went south. That said, it’s still nice to have an install disk handy for those cases when you don’t have a connection, when your connection is slow, or when you just have a whole bunch of Macs and don’t want to have to download the installer on each and every one of them.
The good news is, as with Lion and Mountain Lion, it’s possible to create a local USB installer for Mavericks. The bad news is that it wasn’t as simple as it was before—Apple has changed the way the installer works, and making an install disk manually is more difficult than it used to be. Before we get started, here’s what you’ll need:
- An 8GB or larger USB flash drive, or an 8GB or larger partition on some other kind of external drive.
- The OS X 10.9 Mavericks installer from the Mac App Store in your Applications folder. The installer will delete itself when you install the operating system, but it can be re-downloaded if necessary.
- The latest version of Diskmaker X app, available here. This app is free to download, but the creator accepts donations if you want to support his efforts.
- An administrator account on the Mac you're using to create the disk.
The easy way
Enlarge / Diskmaker X remains the easiest, most user friendly way to get this done.
Andrew Cunningham
Diskmaker X has actually been around since the days of OS X 10.7 (it was previously known as Lion Diskmaker), but it's more important now because Apple has made alterations to the installer that prevent the old Disk Utility method from working. It's still possible to create a disk manually using a Terminal command (which we'll go into momentarily), but Diskmaker X presents an easy GUI-based way to do it that is less intimidating to most people. One note of caution: Diskmaker X no longer supports creating OS X install DVDs. This isn't going to be a problem for any Mac that can actually install Mavericks, but if you'd rather use a disc than a USB drive, you're apparently out of luck.
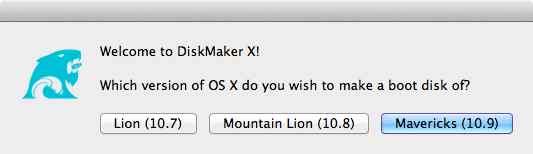
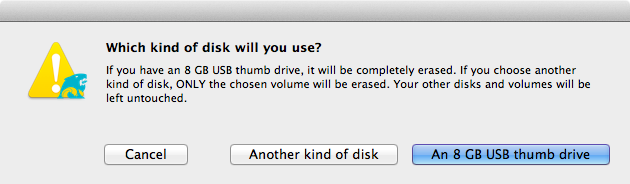
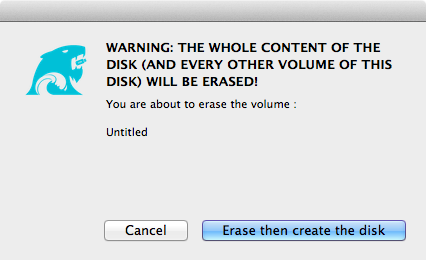
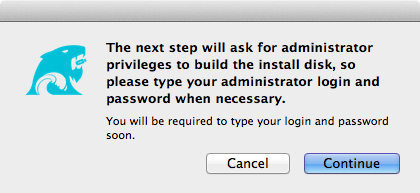
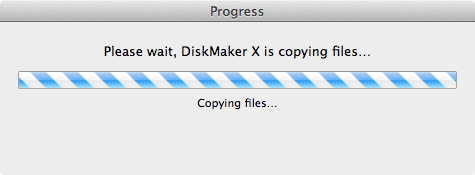
Anyway, select OS X 10.9 in Diskmaker X, and the app should automatically find the copy you've downloaded to your Applications folder, but clicking "Use another copy" will let you browse the drive if you happen to have moved it. It will then ask you where you want to copy the files—click "An 8GB USB thumb drive" if you have a single drive to use, or "Another kind of disk" to use a partition on a larger drive or some other kind of external drive. Choose your disk (or partition) from the list that appears, verify that you'd like to have the disk (or partition) erased, and then wait for the files to copy over. The process is outlined in screenshots below.