Oct 23, 2013 - Leave a Comment

OS X Mavericks is now available to everyone as a free download, and while you can update as many Macs as you want by downloading the installer repeatedly from the Mac App Store, a better option for many is to create a simple bootable USB install drive. We covered this some time ago using a fairly technical process, but Apple must have realized that method was overly complex for many users and has included a much simpler method to create OS X Mavericks install media. Users will still need to turn to the Terminal to finish the job, but this time around only a single command needs to be executed, making it much easier and faster than the manual approach. We will show you exactly how to create a Mavericks boot installer in four simple steps, even if you have no experience with the command line you’ll be able to do it.
Requirements for this are basic, you will need the free OS X Mavericks installer on a Mac, and an 8GB external drive or greater that you don’t mind being formatted. External hard drives work, as do USB flash drive volumes, and Thunderbolt disks.
1: Download OS X Mavericks for Free
Yes, OS X Mavericks is a free update for all Mac users. Here is the direct link to the Mac App Store if you haven’t downloaded it yet.
Yes, you can easily re-download Mavericks even if you have already installed it. If you’re using this guide for a re-downloaded version of Mavericks simply jump straight to step #3.
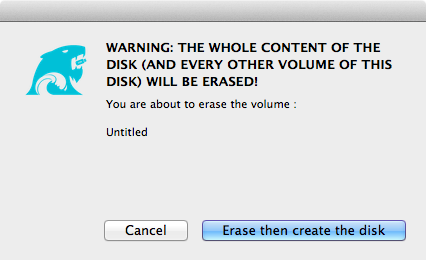
2: Stop When You See This Screen
When Mavericks is done downloading you will see the screen below to begin the installation – stop – and do not continue yet if you want to make a USB install drive.
3: Connect the External Drive
Now is the time to connect the external drive or USB flash disk to the Mac that you want to convert into the installer, so plug it in. Remember, this external drive will be formatted to turn into the Mavericks bootable installation volume, so don’t use an external drive that has important data or documents on it.
4: Launch Terminal to Make the Mavericks Install Media
The Terminal app is found within /Applications/Utilities/ or you can launch it from Spotlight. Once at the command line, you will need to enter the following command:sudo /Applications/Install\ OS\ X\ Mavericks.app/Contents/Resources/createinstallmedia --volume /Volumes/untitled --applicationpath /Applications/Install\ OS\ X\ Mavericks.app --nointeraction
Be sure the entire command string is on a single line. You will need to replace “Untitled” in the volume path with the name of your external drive that you want to turn into the installer disk, this should match the name of the external USB flash drive exactly. The Terminal will wrap text so it may look something like this:

Because the command uses sudo you will need to enter the Macs administrator password to continue the process, note that when typing admin passwords into the command line using sudo or su the password text will not display and it will appear as if nothing is being typed, that is a security feature, just type the password as usual and hit return.
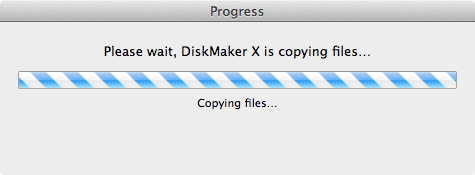
Once executed you will see a progress indicator in the Terminal that looks like the following, the entire creation process is automated but can take some time so it’s best to leave alone for a while until you see the final “Done” text.
Erasing Disk: 0%... 10%... 20%... 30%...100%...
Copying installer files to disk...
Copy complete.
Making disk bootable...
Copying boot files...
Copy complete.
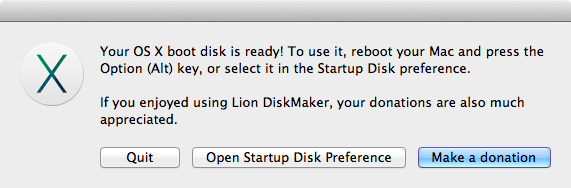
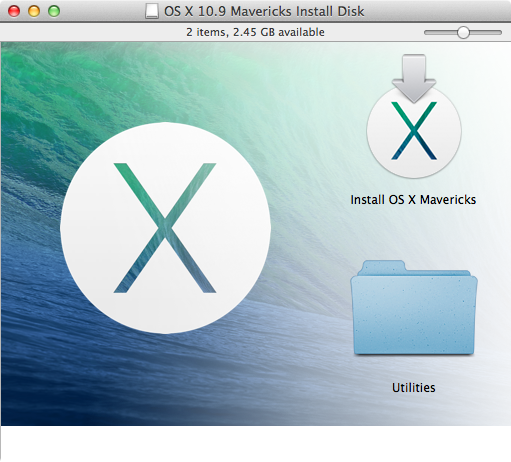
Done.Exit out of Terminal and return to the Finder if you want to confirm the OS X Mavericks installation drive was created. You will see it in the Finder (or desktop) labeled as “Install OS X Mavericks” and the volume contains a single installer app.

You can now choose to install Mavericks with the original installer that you stopped at in the first step, or use the installation volume you just created.
For what it’s worth, the original USB creation method continues to work, but this new approach is much faster and generally more user friendly, making it the preferred choice for just about everyone.
This drive is a standard OS X installer but it’s also bootable, meaning it can be used for upgrading from prior versions of Mac OS X (Mavericks 10.9 supports direct upgrades from Mac OS X Snow Leopard 10.6, Lion 10.7, or Mountain Lion 10.8), or to perform entirely fresh installations. Regardless of the Mac being installed on, it’s a good idea to prepare the Mac for the 10.9 upgrade by cleaning it up a bit and backing up the data.
Booting from the Mavericks Install Drive
Booting a Mac from the freshly created Mavericks install drive is easy:- Connect the Mavericks installer drive and reboot the Mac
- Hold down the Option key during boot to bring up the startup disk menu
- Select the Install OS X Mavericks media to boot from the installer volume, if it’s a USB drive it will have an orange icon

This will boot directly into the Mavericks installer where you can upgrade or reinstall OS X. The install is almost entirely automated once you select the volume, and the total installation time is usually about 35 minutes to 1 hour, though it may take longer depending on the Mac model.
Thanks to @Nor Eddine Bahha who originally posted the createinstallmedia command string on our Facebook page, and thanks to everyone else who sent this great trick in through email, Google+, and Twitter as well. Enjoy Mavericks!